Moving along with our series on field photography, the next topic that I personally have found very useful is the production of panorama images.
Advanced compositions: large panoramas
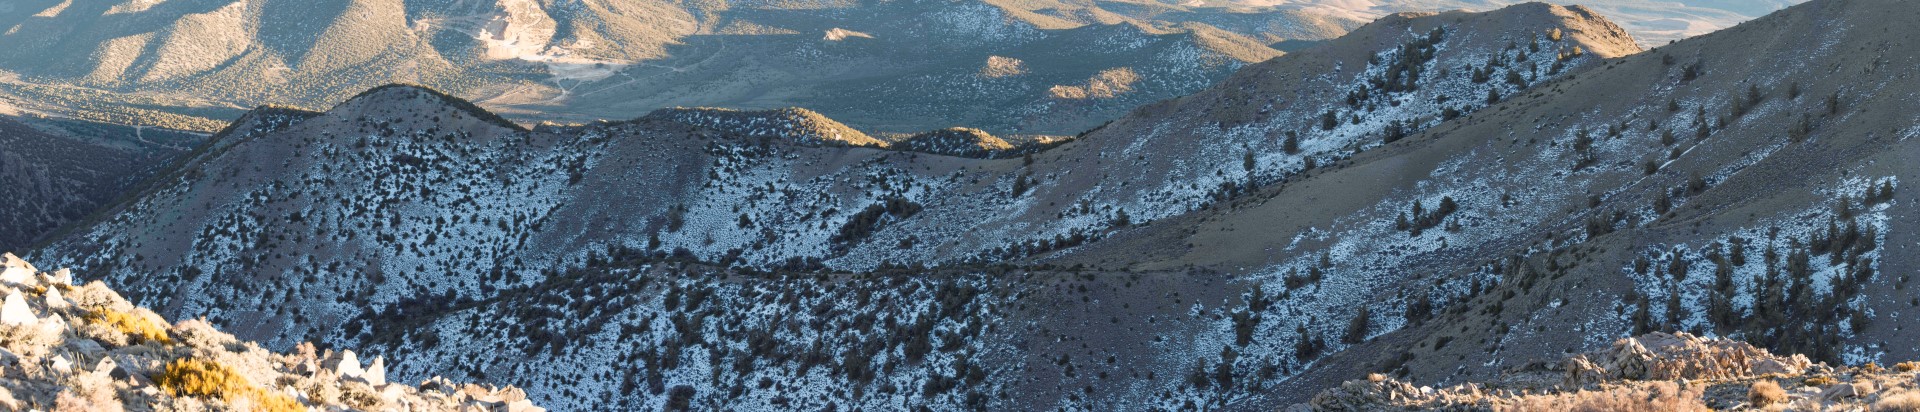
Another highly-relevant technique for producing interesting field photographs is the large panorama. Yes, it is true that even your Smartphone has a panorama setting. But does it always get it right? What is it about deliberate panorama production that can help the communication of science? It is unlikely that you will be carrying a selection of camera lenses around with you. Rather, you are probably going to have a single super-zoom lens on the camera that will capture most of what you are going to encounter without issue. This presents a problem when you would like a wider field-of-view for a single image, such as capturing an entire hillside at close range, or some other lengthy feature such as a ridgeline or valley. A wide-angle photograph presents its own problems, such as distortion and lower effective resolution of distant objects.
To rectify this, you can set your lens at a more reasonable and non-distorting zoom level and capture a series of overlapping photos which will get combined later in software into a single image. While it is entirely possible to accomplish this with a standard point-n-shoot camera in JPEG mode, having a DSLR on hand for the task certainly makes it a lot easier. When combining, or “stitching” a panorama image, the use of RAW format becomes important, as does the ability to manually fix the focus and exposure settings so that all images start out with the same parameters.

Panorama’s don’t all have to be comprised of umpteen-gazillion separate frames, either, although this approach can be quite effective. Rather, I commonly use 3-5 frame sequences to simply get a larger field of view than what my lens would allow. These higher-resolution photos come in very handy for science poster print applications and presentations.
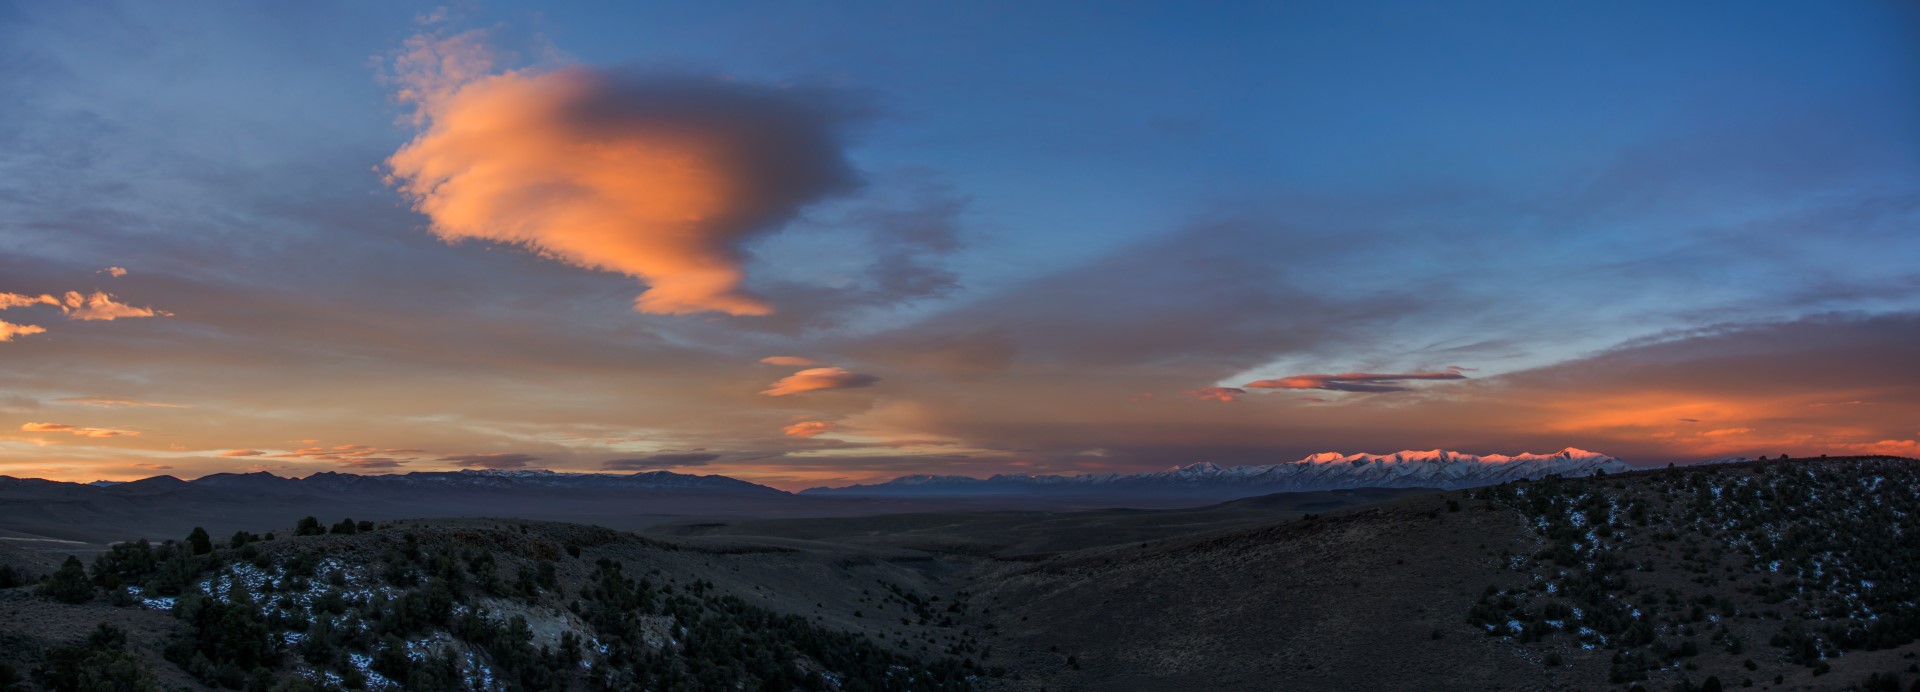
To take a good panorama, you simply need to examine your intended zoom level and choose the most reasonable exposure settings that compromise the extremes of your sweep. You will rely on the extra information saved in the RAW format to help you balance the overall exposure later in software. Once you’ve fixed the settings, you simply snap a series of overlapping photos (30-50% overlap is a nice safe amount), going beyond your intended boundaries some to allow cropping later. Many people like to shoot these sequences with the camera held vertically rather than horizontally, and I’d agree with this unless you are shooting multiple rows of images anyway. As usual, there are many good sources of information scattered about the internet specifically on panoramic shots.
The production of the final image is usually a two-step process, where you first develop the individual images in software from the RAW files (using the ability of Lightroom to apply similar corrections to a batch of stills) and then combine in a stitching process. I have used a variety of stitching solutions, but honestly Adobe Photoshop is one of the easiest to use along with being quite powerful. You can of course save the original output and crop different compositions out of it depending on your needs.
It is definitely in the field scientist’s interest to have the panorama option in the toolbox. With a little practice, it’s no extra effort to take the photos needed to produce one later. Give it a shot and see how it works for you!
Next in the series: time-lapse photography…