Moving beyond single daylight images:
Previously, in Photography [Part II], we addressed the need to use RAW image format and software for digital developing. We also reviewed some of the basic reasons why moving up to an adequate DSLR and lens is important. Now we’ll continue with some very useful techniques that your new DSLR/software setup can help with. Taking single still daylight images is certainly not where you want to stop with field photography. To truly leverage the capabilities of the DSLR platform, you should add more dimensions to your photography such as low light shots, time-lapse, large panoramas, and so forth.
Get a tripod!
Before I talk about specific techniques, there is one additional tool that every serious photographer must have available: a solid tripod (or two). Camera support becomes crucial when adjusting to lower shutter speeds, capturing time-lapse, or taking self-portraits. I don’t usually hike around with a tripod, although there are some nice light-weight camera supports out there, but I will always have one in the field truck ready for when the right moment arrives. Inexpensive plastic tripods will not cut the mustard for DSLR work, so make sure to start out with a good one. I’ve been using the same Bogen Manfrotto aluminum tripod with a joystick pivot head for the last 22 years, it is hard to believe that it has lasted this long. Using quick-release plates is a must regardless if you have one camera/tripod or more. If the tripod is too light or unstable, it will not hold the camera steady in field situations with light breezes and sandy/rocky terrain.
Low-light photos: initial settings
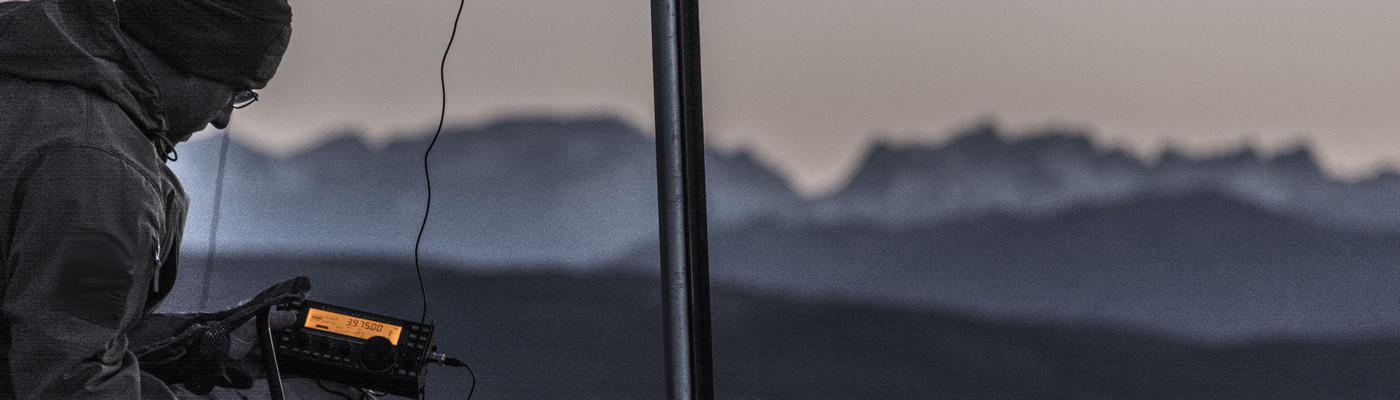
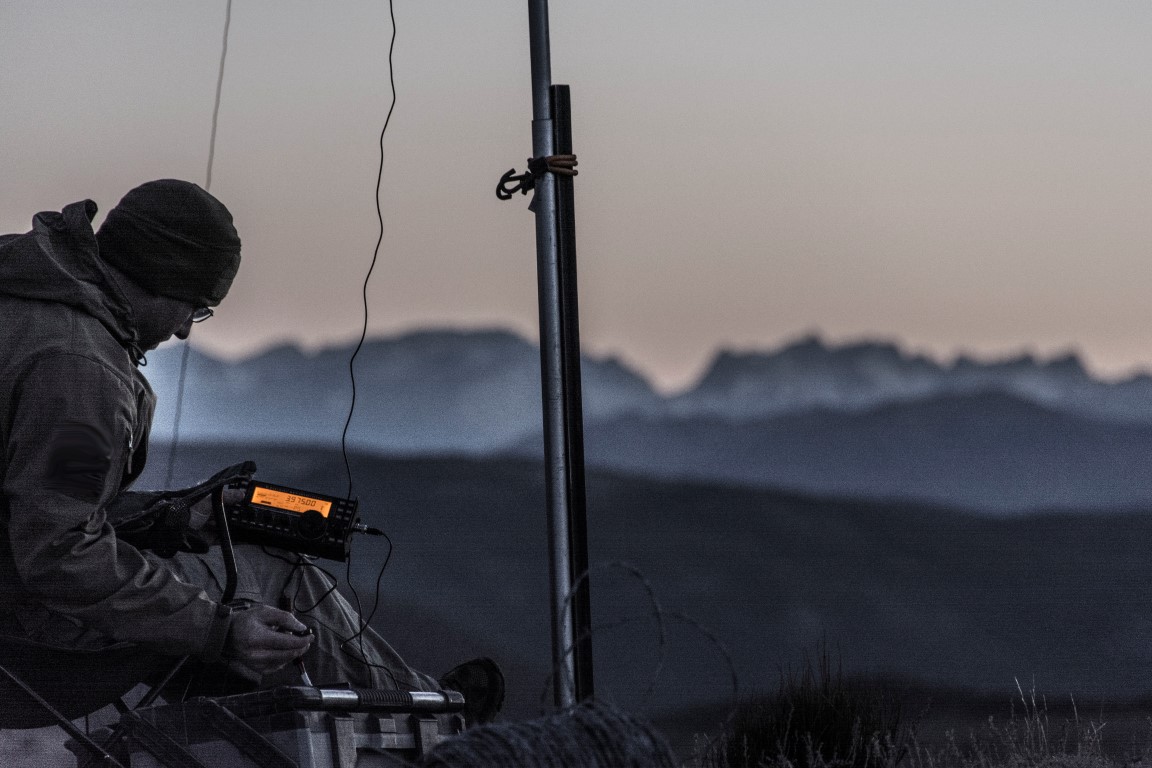
Taking advantage of morning/evening or even nighttime lighting situations is something that every DSLR owner should strive for. It is surprisingly easy to obtain reasonably good photographs even in challenging situations because of the ability to instantly review the exposure. Manual settings on typical DSLR’s allow the adjustment of shutter speed out to tens of seconds or even “bulb” actuation, where you can leave the shutter open as long as you desire. In all cases where you are going to keep the shutter open for longer than say 1/80 sec, you should be using a tripod or other support and a remote release to avoid camera shake.
When taking lower-light photos, first adjust the ISO settings to make the sensor more responsive. There is a trade-off with “grainy” texture, but with modern cameras this does not become noticeable until very high ISO values. I shoot a lot of low-light images with ISO set between 400-1200 on my D7100. It turns out that noise removal in Lightroom is very helpful at negating the effects of high ISO settings, one more reason to get serious with self-developing your RAW images.
The next challenge is to set the camera focus properly. In very dark settings, the camera autofocus usually fails at obtaining a lock. There are a couple of alternatives: one is to switch to manual focusing and take multiple shots in a trial-and-error process (time-consuming, but sometimes necessary); another method is to use a laser pointer or otherwise temporarily illuminate your object and give autofocus another try. Once you have obtained ideal focus, remember to flip back to manual so that you don’t lose the focus setting (the D7100 has a perfectly-placed switch for this on the lower left side of the body).
After you’ve got the ISO and focus settings figured out, try some different shutter speeds and see what sort of exposures you get. As long as you don’t completely over- or under-expose, you will get enough information to extract during the software developing process. The closer to “ideal” that you can get in the field, the better the end product will be.
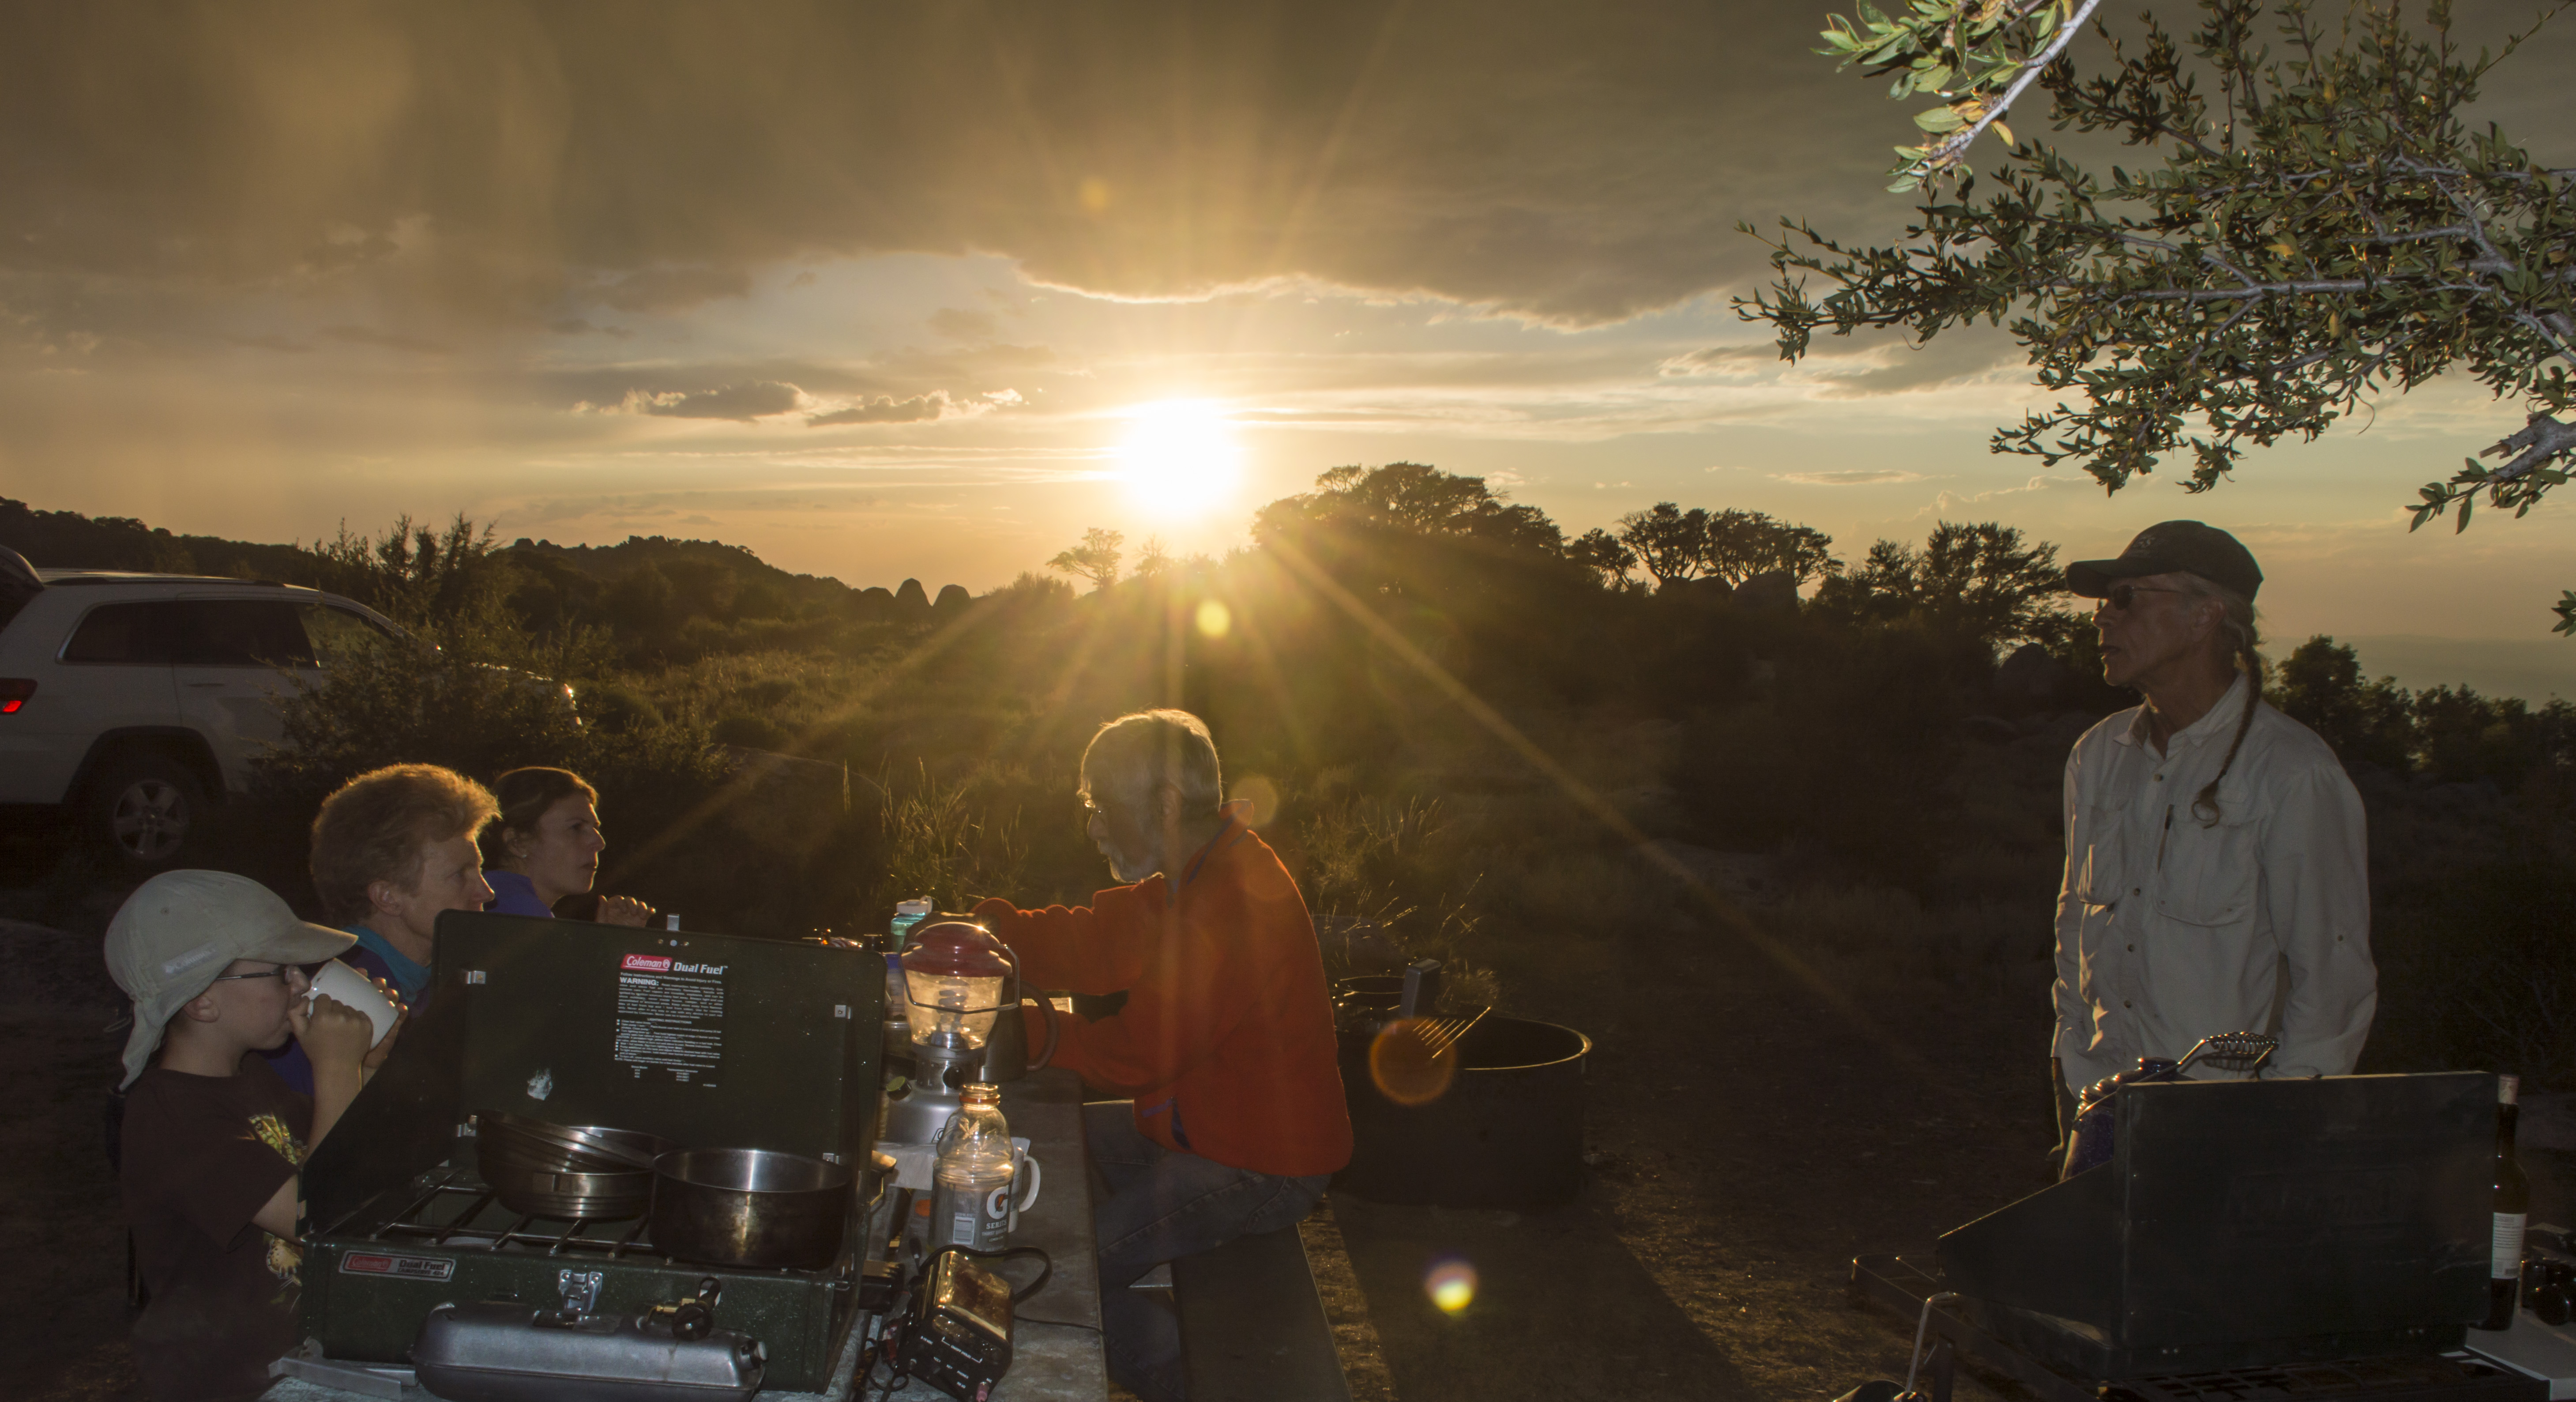
Low-light photos: artificial illumination
If you are taking photos of a foreground subject in low-light, it’s time to break out another trick: artificial illumination. This can be particularly useful in field situations when you want to light up a tree, person, or piece of science equipment.When taking photos into the sun and running a relatively high shutter speed to compensate, you can back-fill the foreground with a flash (DSLR’s often have nicely-adjustable flash setting for this) or another bright light source.
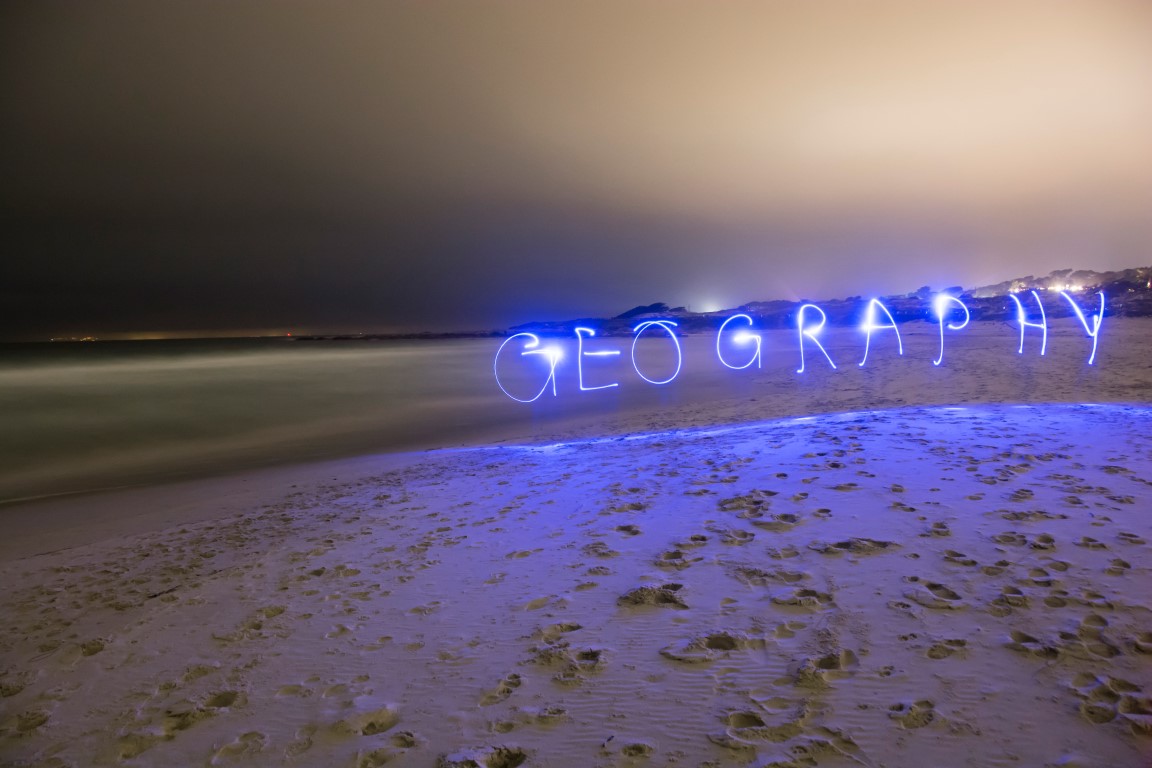
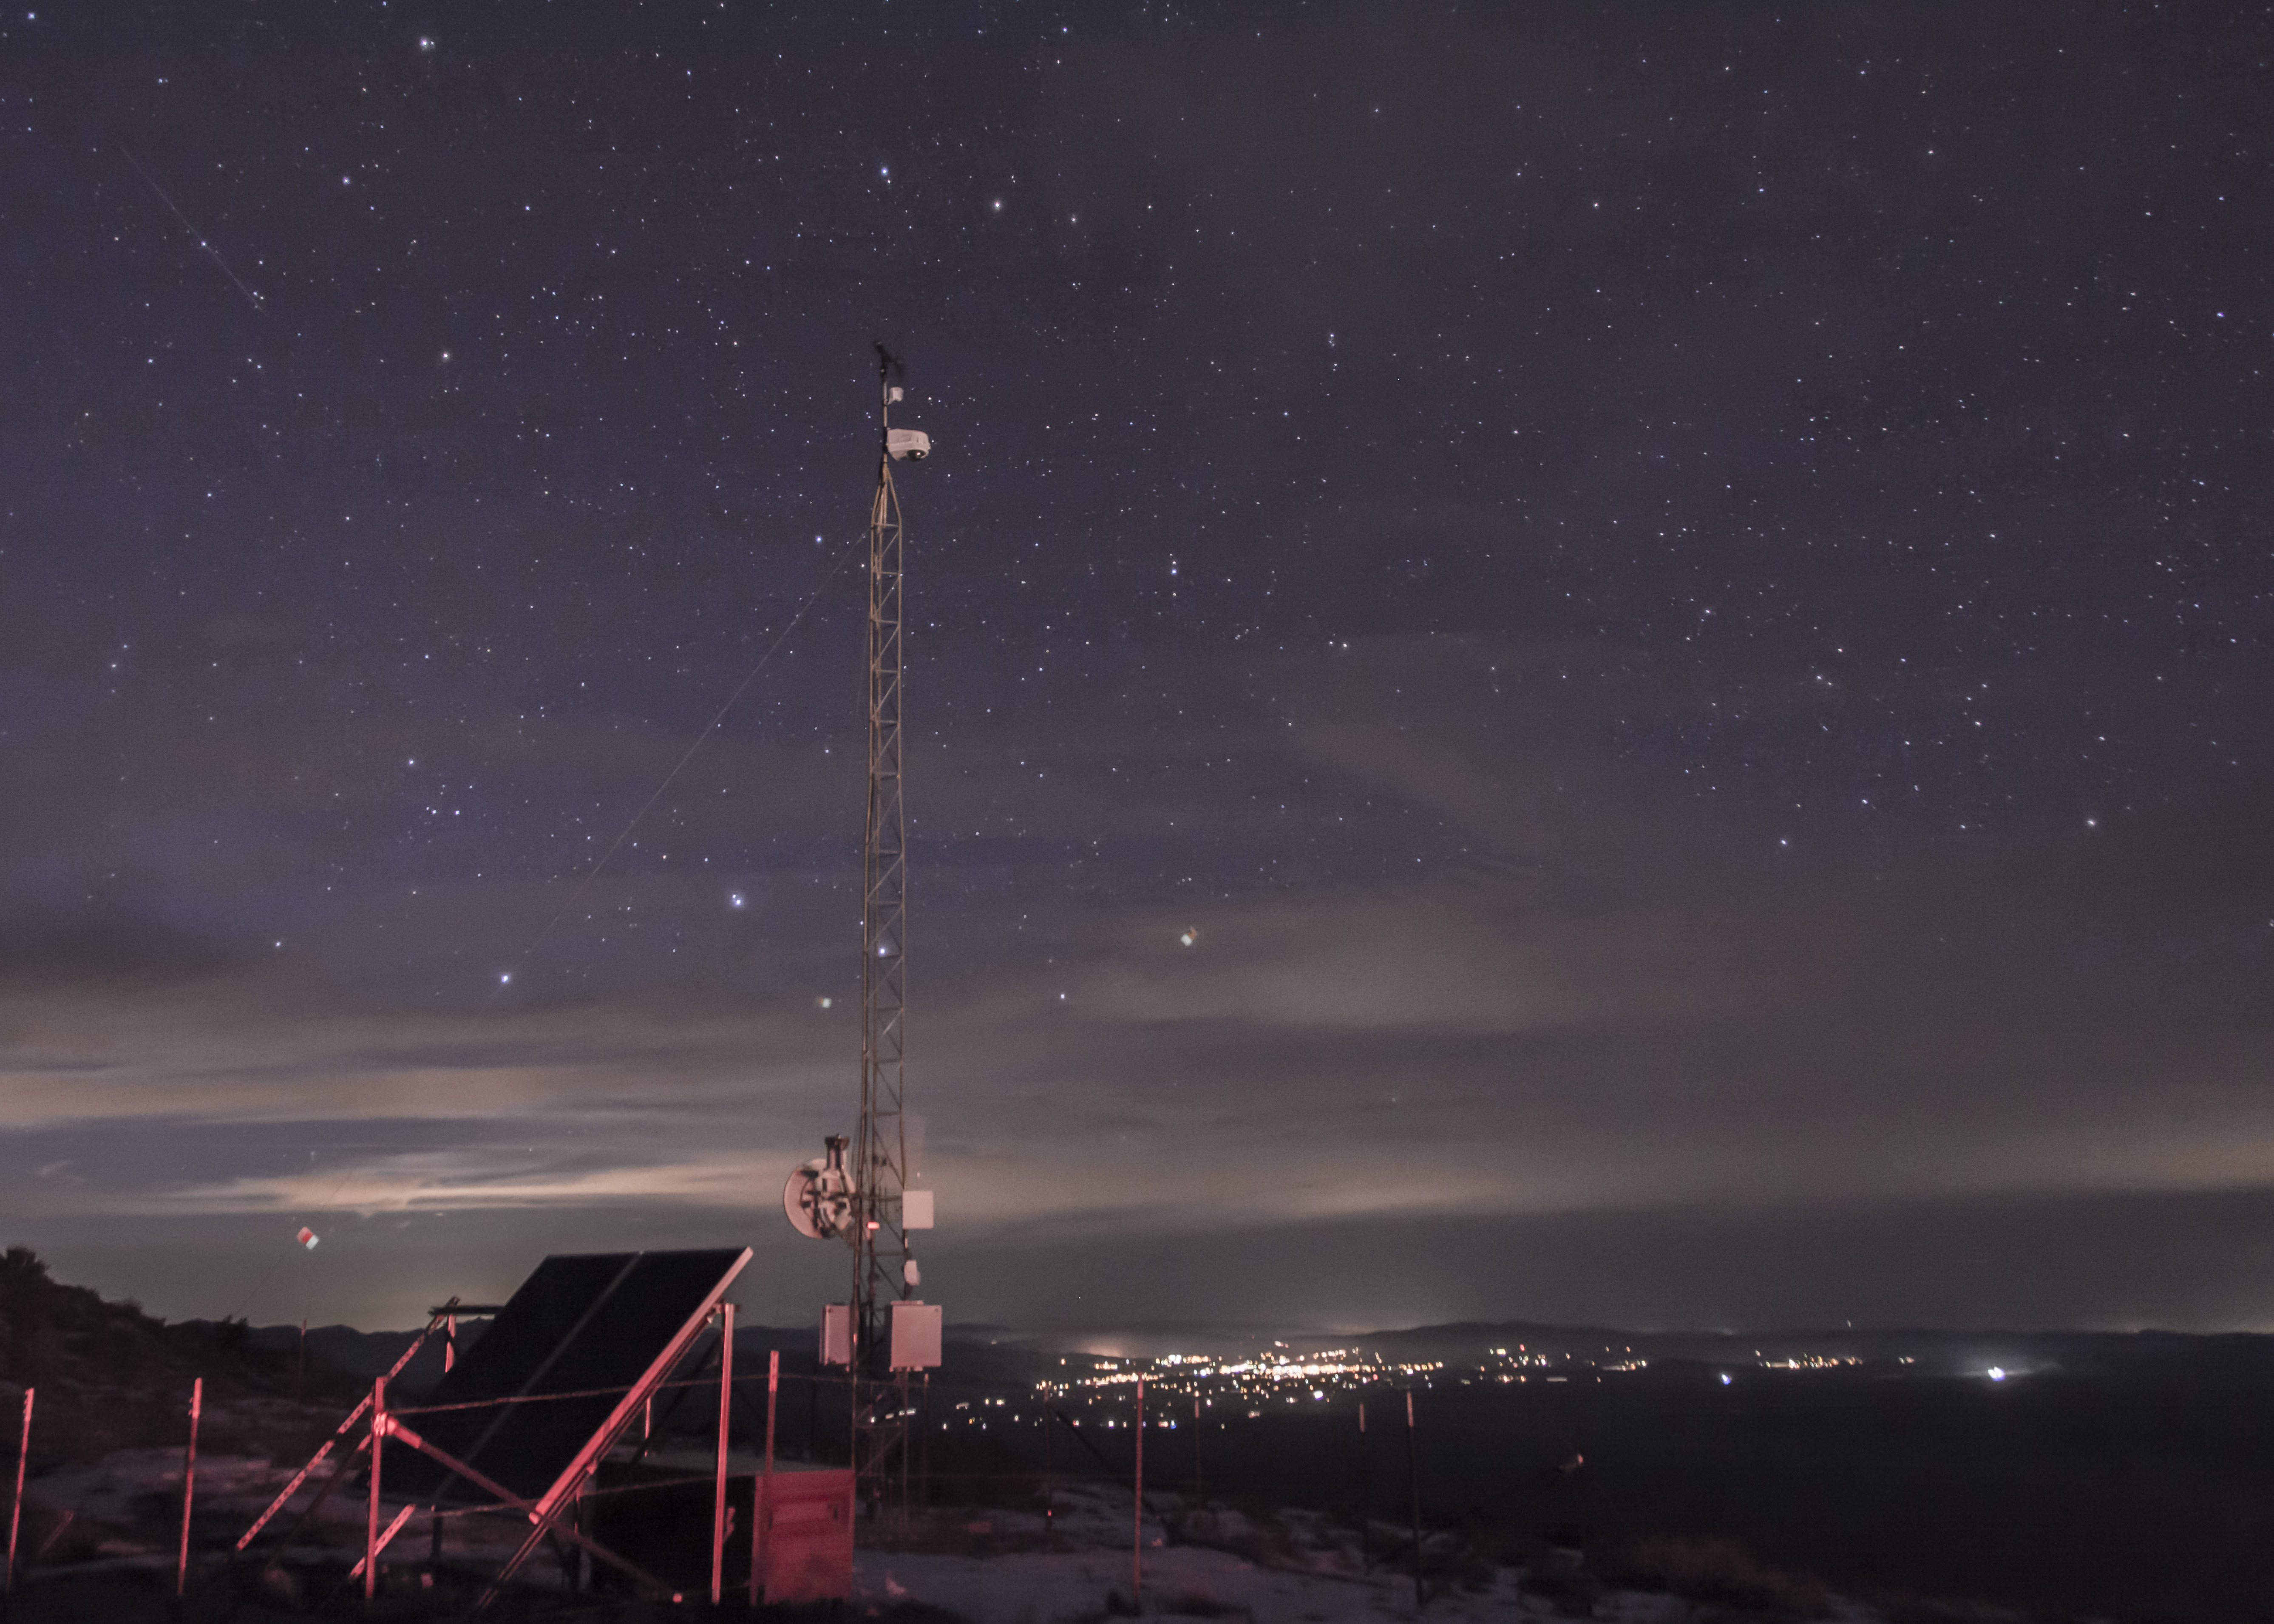
Once the shutter is open for a long exposure (for example, 20 seconds) that will capture the star field or nighttime clouds, you can briefly “paint” your subject with a flashlight, headlamp, or other light source. This technique has literally endless possibilities and is quite fun to implement.
So, start making use of your DSLR’s ability to capture the night and other light-challenged situations. Producing unique images of your work and field sites will generate additional public interest and make your presentations and publications stand out.
Next in the series: time-lapse, panoramas, and other still-image methods.