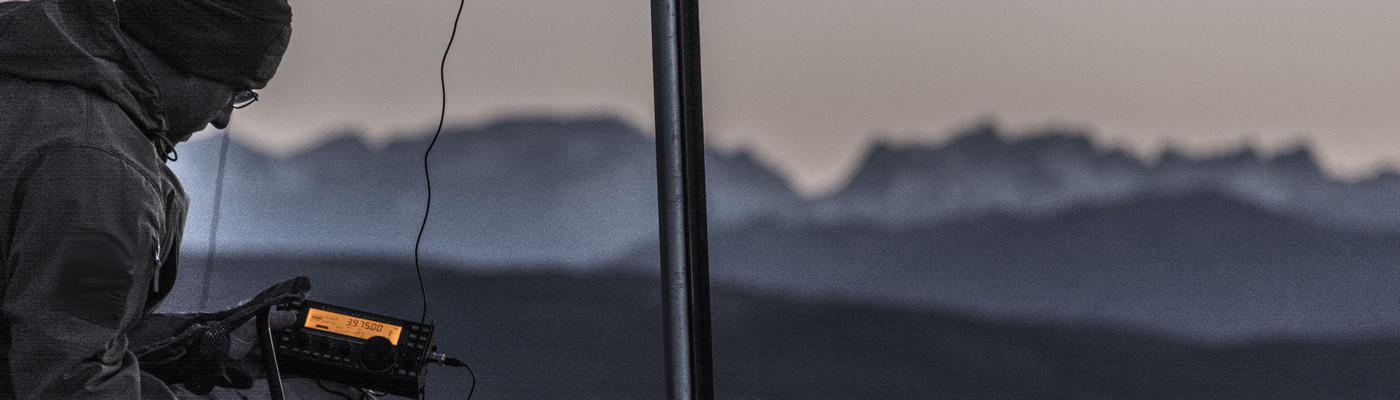
In the previous post, Photography [Part 1], we examined the importance of still picture photography in a field science context. We compared still photos to video production, and looked at some of the ways that an untrained person can immediately improve their photography skills in the field with basic equipment. Now we move on to the next step: what are the essential upgrades that can rapidly impact the quality of field photography? In other words, where is the greatest “bang for the buck” to be had?
Shoot in RAW, develop in software
Surprised that I’m not immediately recommending a fancy camera body and lenses? Don’t worry, that’s later. The single most important change to your photographic life is the ability to self-develop photos. No, you don’t need a mad-scientist laboratory and darkroom anymore (disappointing, I know). Instead, you simply need some RAW-capable editing software such as Adobe Lightroom and perhaps larger memory cards. This also depends on your camera’s ability to shoot RAW in the first place. Many “prosumer” grade units are starting to allow this mode, and now many iOS and Android devices can as well.

RAW adjustments are much more than tweaking brightness and contrast on a typical JPEG digital photograph. It is in effect playing with the digital negative, allowing full control of a tremendous amount of information regardless of how the original exposure appears at first glance. As long as the photograph has not been hugely under- or over-exposed, much of the color and tone information is there, just waiting to be unlocked. You can make individual adjustments in good RAW-editing software to a number of parameters before you even start “Photoshopping” in the classic sense of “touching up” images. This is more about color, exposure, and tone adjustments as part of the development process than “editing”. Once again, there are many, many “how-tos” on using Lightroom and other software on RAW processing, so do some looking around and see what the possibilities really are!
Camera and lens make the difference
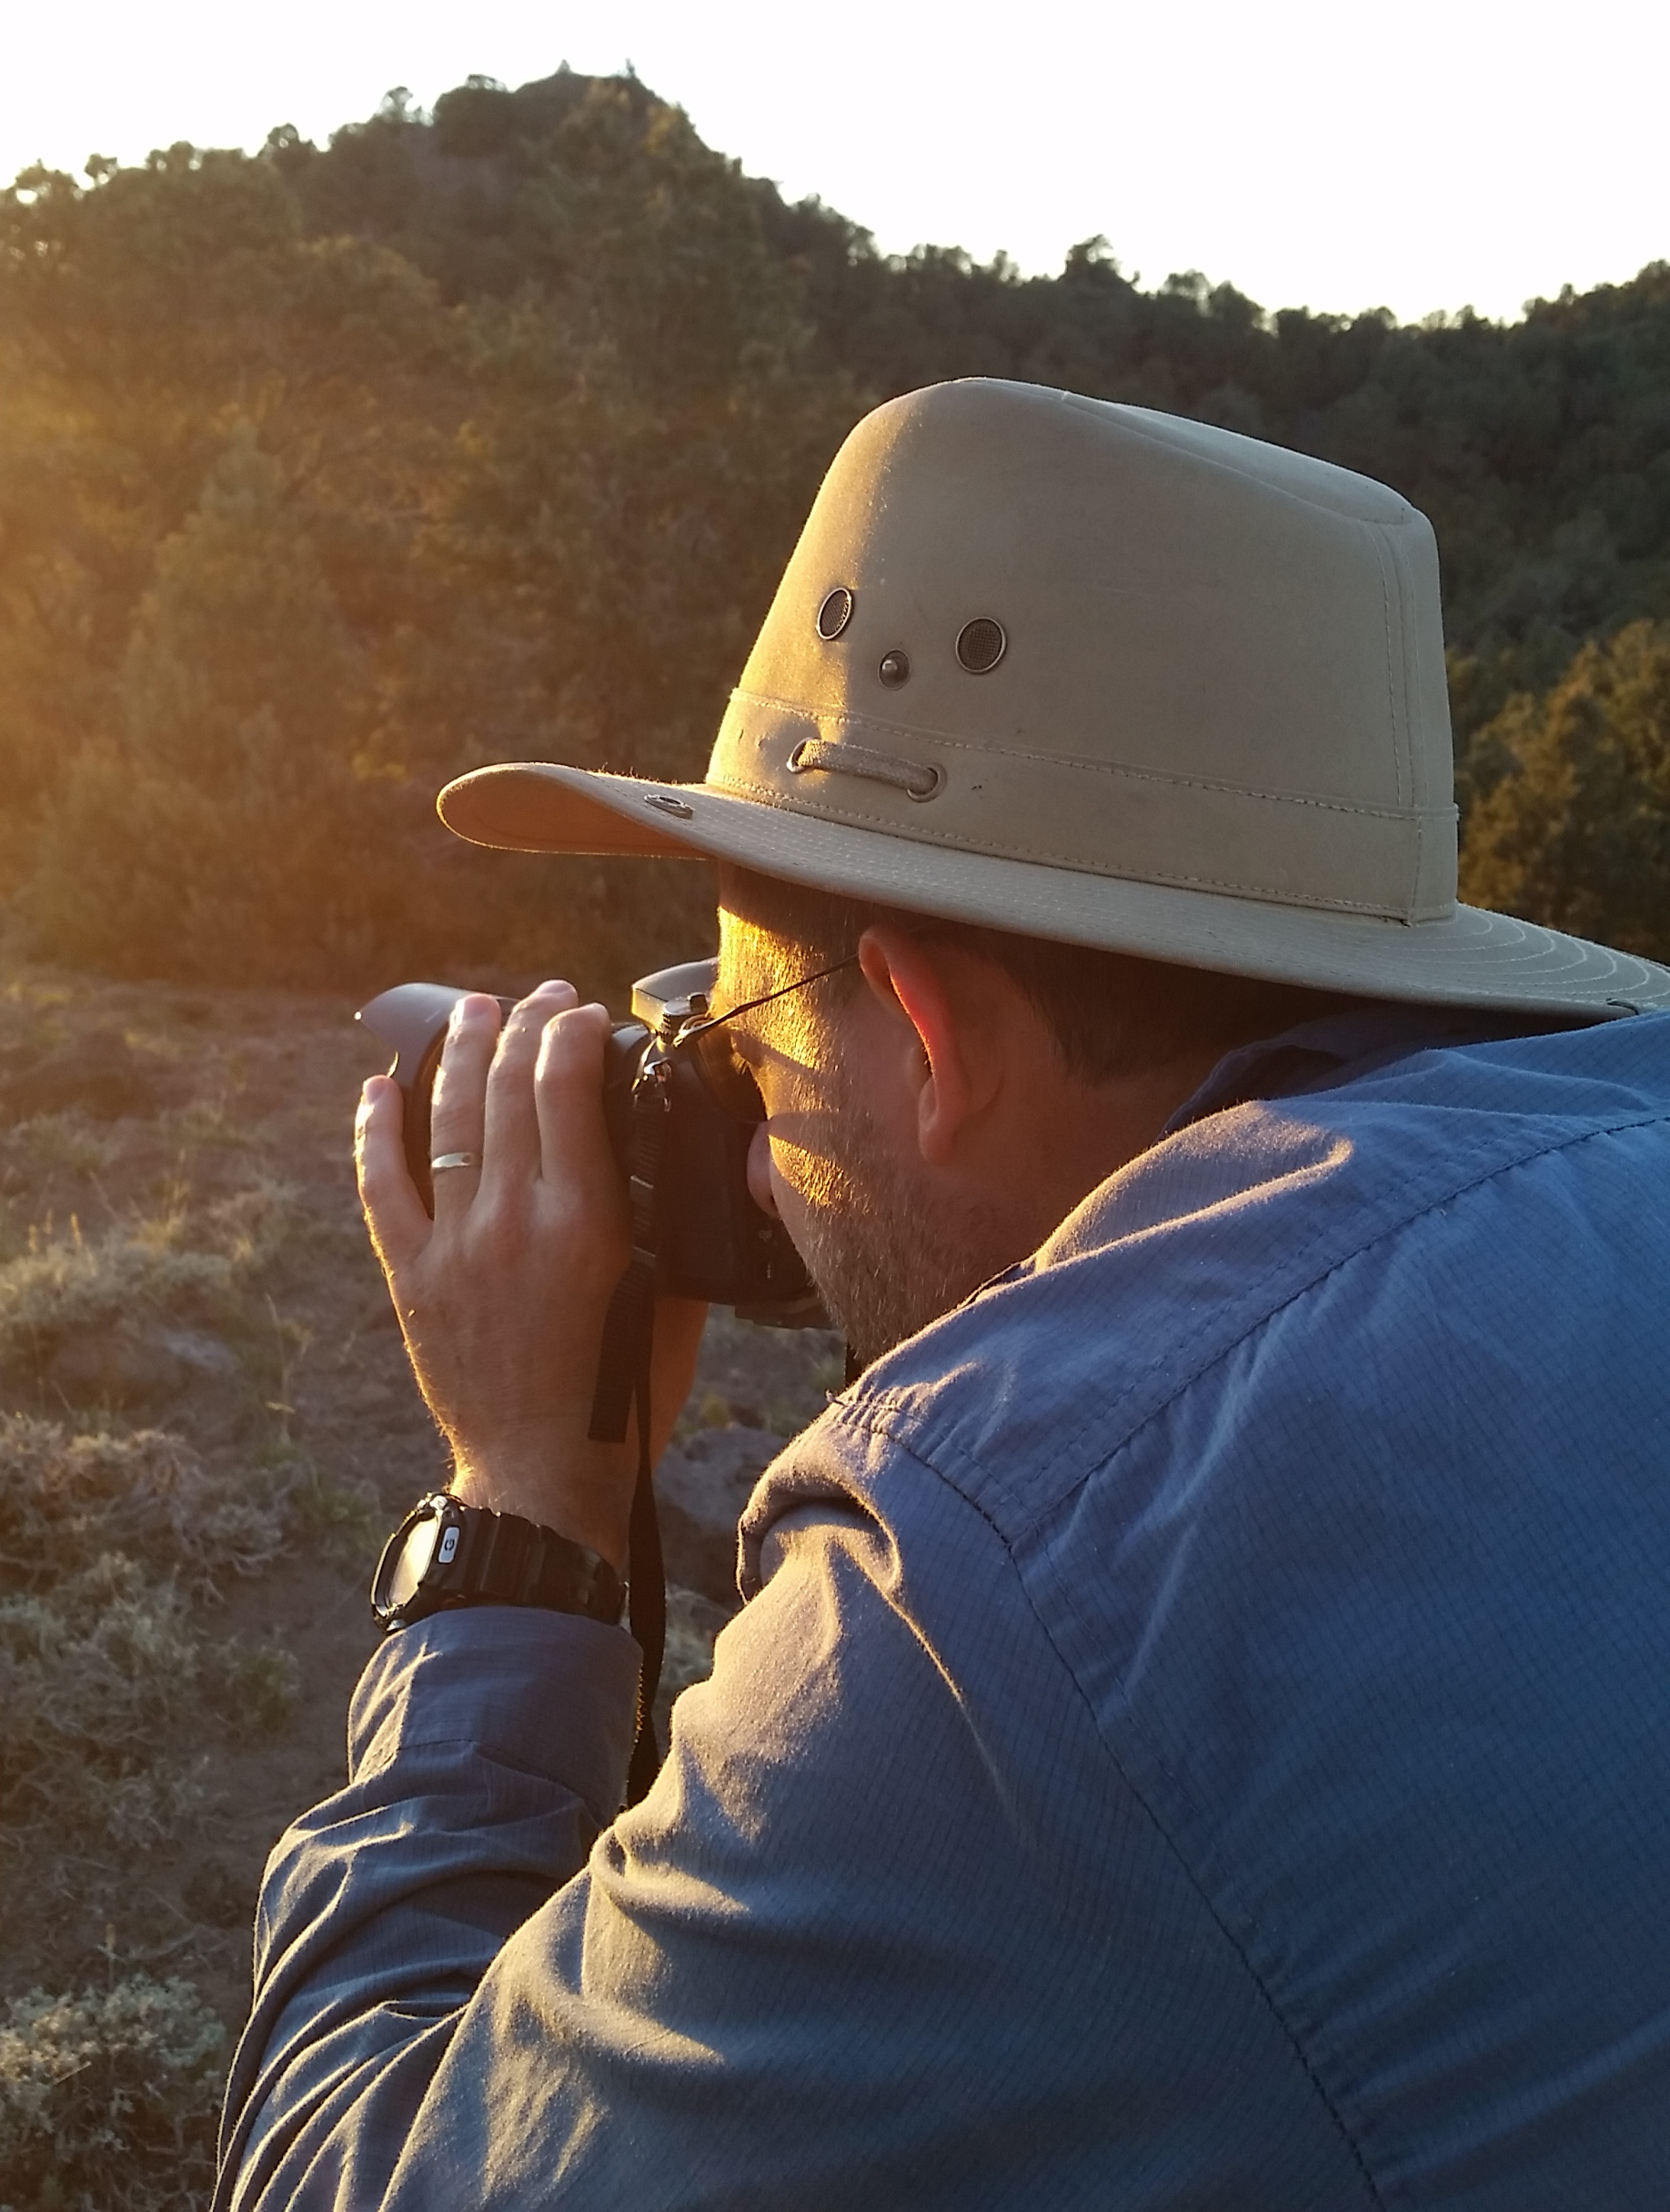
OK, it’s true. The next step to take is getting away from the point-n-shoot and obtaining a real DSLR camera. What you are after is “always on” readiness and instant shutter response, as well as flexibility to shoot in all lighting (and nighttime) conditions. The other significant reason is the ability to purchase a wide variety of quality lenses should your application require. The quality of the image to a large extent still relies NOT on high megapixel count, but instead on the glass in front of the sensor.
I put off the DSLR transition myself for years, mostly because the constant improvements to digital cameras were mind-boggling. Every year brought amazing changes. It becomes difficult to justify significant expense for a non-essential technology item that is obsolete the second you unpack the box. Fortunately, things have leveled off a bit, at least where practicality and still photography are concerned. A camera body purchased today is going to take sharp, unpixellated photos that will be comparable to following generations of cameras for years to come. Improvements now are coming in the form of video capabilities, frame rates, stabilization, and other features. But the glass, sensors, and mechanical systems of a circa 2014 DSLR are simply fantastic and have real staying power.
So, jumping in now is not a bad thing at all. In fact, it is not even necessary to purchase a camera body from today; the previous generation of DSLR’s is also quite good. Case in point: the Nikon D7000 body has a serious reputation as a great camera, even at a reduced sensor size compared to today’s offerings. Many professional-quality images have been taken with this model. They can also be found second-hand or refurbished at extremely reasonable prices.
Given how many sagans of Internet articles wax eloquent on camera choices, I’m not going to say much regarding this. It’s enough that the Nikon D7100 DX-format camera is pretty much the perfect all-around model for beginner-to-professional photography. It comes in at a decent price point, which is important for a field tool that will see a lot of outdoors action. It also has the responsiveness and features that truly make for a good DSLR (dual card slots, time-lapse scheduling, mature firmware, and so forth). Match this body with the right lens and there is nothing you won’t be able to photograph. One excellent choice for a do-everything field lens is the Nikon 18-200mm VR II. This lens allows you to take wide shots at low light as well as obtain sharp zoom pictures of distant objects. The lens is durable beyond the typical “package” zoom lenses, and has a zoom lock for increased field ruggedness. Add a good neutral filter as protection for the glass, pick up a remote IR shutter trigger, and you are good to go.
Just switching to using the correct tool for the job took my field photos from average to epic. Applying some knowledge of photography from my film days spent with an Olympus OM-1 really made the difference and put me at home with the DSLR almost immediately. The ability to manually set up shots, bracket appropriately, and immediately see the results seems like cheating, big time. Since I can pop the SD card into my laptop and open the photo in Adobe right away, there is nothing stopping me from first-pass processing of RAW images over dinner around the campfire. Finding out quickly whether I got the shot I wanted, especially in low light, has really increased my ratio of keeper photos.
Now that we’ve introduced some of the essential tools to take your field photography to the next level, we’re ready to address some techniques that will really make your results unique. Stay tuned for the next post in the series!