If there is one practice or tool that every single branch of field science could benefit more from, it is still-picture photography. Communication of your work, your application, and your environment is made infinitely easier when high quality photographs are included. Quality pictures from your personal research activities can enhance your visibility in the reporting, publication, and funding proposal arenas if they effectively communicate your efforts. Additionally, taking photographs on a regular basis also helps your own thought and analysis process once you have returned from the field, as you revisit the collection with follow-up questions.
Caveat on video media
Yes, we have entered the era of videography. I am going to argue that while video media offer much more content and communication ability when compared to still images (or still image derivatives), there are several reasons why basic photography is more important to field science than video. I say this having done enough video work to garner some 1.6 million views (1.3 million minutes watched) on Youtube in a non-science hobby context.
Expense: unless you have your own personal videographer following you around, taking even decent video in the field is a time-consuming and difficult process. Equipment for taking quality audio/video is just as expensive and more complicated than a high-quality professional still-image system. Last time I checked, making a case to your funding agency for additional personnel to produce media on a physical sciences grant seemed a bit ridiculous considering that we are in a time of increased competition and reduced budget amounts. It is difficult enough to employ technical personnel to help with the real scientific work, let alone provide for extraneous activity. Only the really large grants and projects will be able to execute a media outreach programme successfully.
Workload/Flow: as mentioned, taking video in the field requires a significant time investment compared to still photography. Orders of magnitude, in fact. Setting up a decent shot, performing one or more takes, and doing it all again for the next take is not quite the same as popping the lens cover on a DSLR, checking the shutter speed, and taking 3-5 rapid compositions. Imagine the two options compared to getting anything useful done in terms of field surveys, sampling, or construction! As field time is infinitely more critical than office time, the inefficiency factor is amplified.
Post-processing: follow-up organization and editing of field photographs takes some time, measured in hours. Transfer, review, editing, and assembly of quality video take time measured in days, regardless of which software you use. Unless you are producing single-take hobby-grade “how-tos” for Youtube on scientific procedures, your time investment for a presentation-quality video is not comparable to still images.

Relevancy: investing a lot of the aforementioned time, energy, and monetary resources in video requires that your products have very long-term relevancy to be worthwhile (unless that one video somehow is instrumental in landing you that $1m funding award). Technical content, video production style, and even quality/resolution of video seems to have a limited lifespan of ~5 years before it starts to appear “dated”. Still images, even if “dated”, are still highly relevant from the point of comparison over time in landscape or practice.
Audience time and impact: today’s audience has a mixture of attention spans and interest levels. The average view time of Youtube videos is not very long if average video length is any indicator, and typical 15-minute scientific presentations also do not leave room for passive video display. Single still images, however, can rapidly engage your audience in a variety of settings as well as provide lasting impact as you reinforce a verbal point with a good photograph.
All of this to say that still photos are not only highly useful for field science, but they are in fact the most important and convenient recording media currently available. Learning how to take decent photographs and incorporating them into your field and reporting procedures is one of the most valuable skills that you can pick up over the course of your career.
Part 1: Take good photos, regardless of your equipment

In the digital era, it does not require professional-grade gear to take nice photographs in most settings. Automatic focusing and exposure controls on modern cameras work quite well, and with just a little attention to detail you can get a decent collection of presentation-quality images going in short order. Later in this series I am going to suggest some basic equipment and software that will up your game significantly, but for starters we’ll just focus on the basics. There are literally a bajillion web references to the essentials of photography, so rather than reiterate what you can research on your own, I’ll emphasize what’s important in the fieldwork context.
Make your automatic camera work for you: by making a few small changes in the operation of your point-n-shoot digital camera, you can gain some control over how settings are being modified when you press the shutter. If you are consistently getting poorly-focused or incorrectly-exposed frames, change settings so that the focus and exposure points are reduced to just the center of the frame (usually there is a small icon superimposed on the viewfinder). This way you can use a half-press on the shutter to prefocus/expose on the subject of interest, and then re-compose the shot before pressing all the way.
Mix landscape and science: it is very easy to get caught up in either the fieldwork or pretty landscape shots. Good field photography practices will mix the two, so that you have a record of the setting/environment as well as the actual activity being performed by you and your field team.
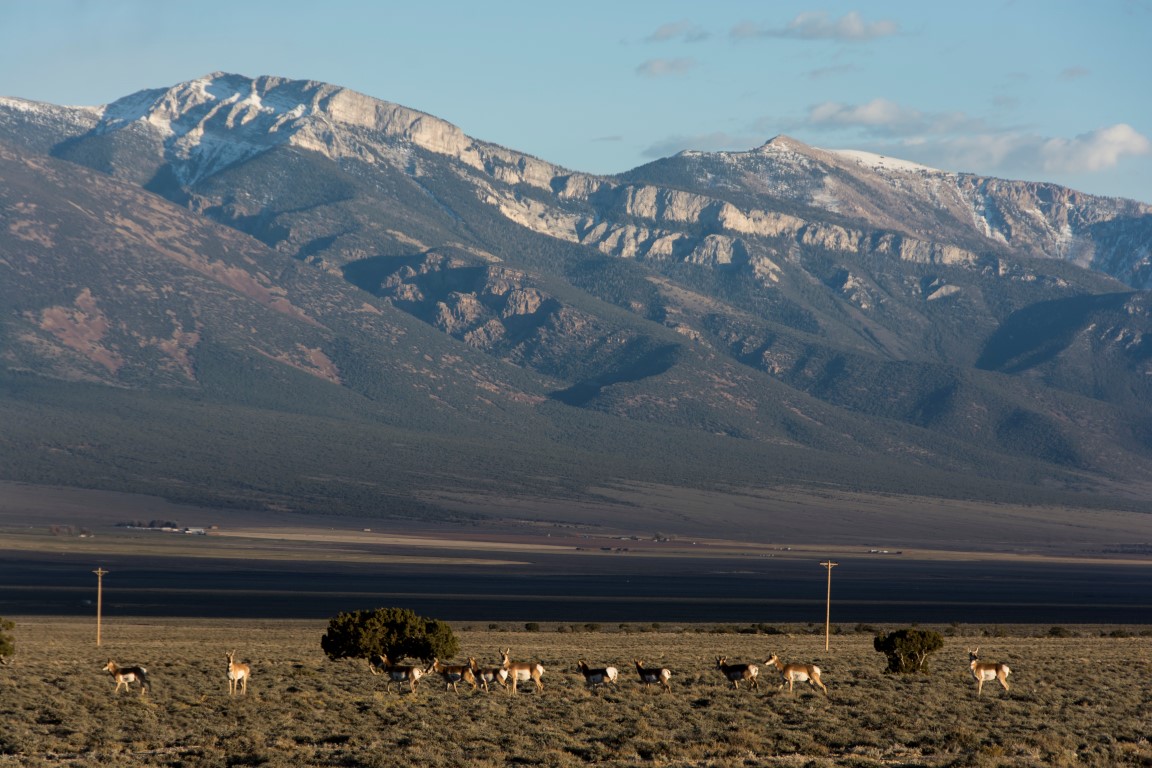
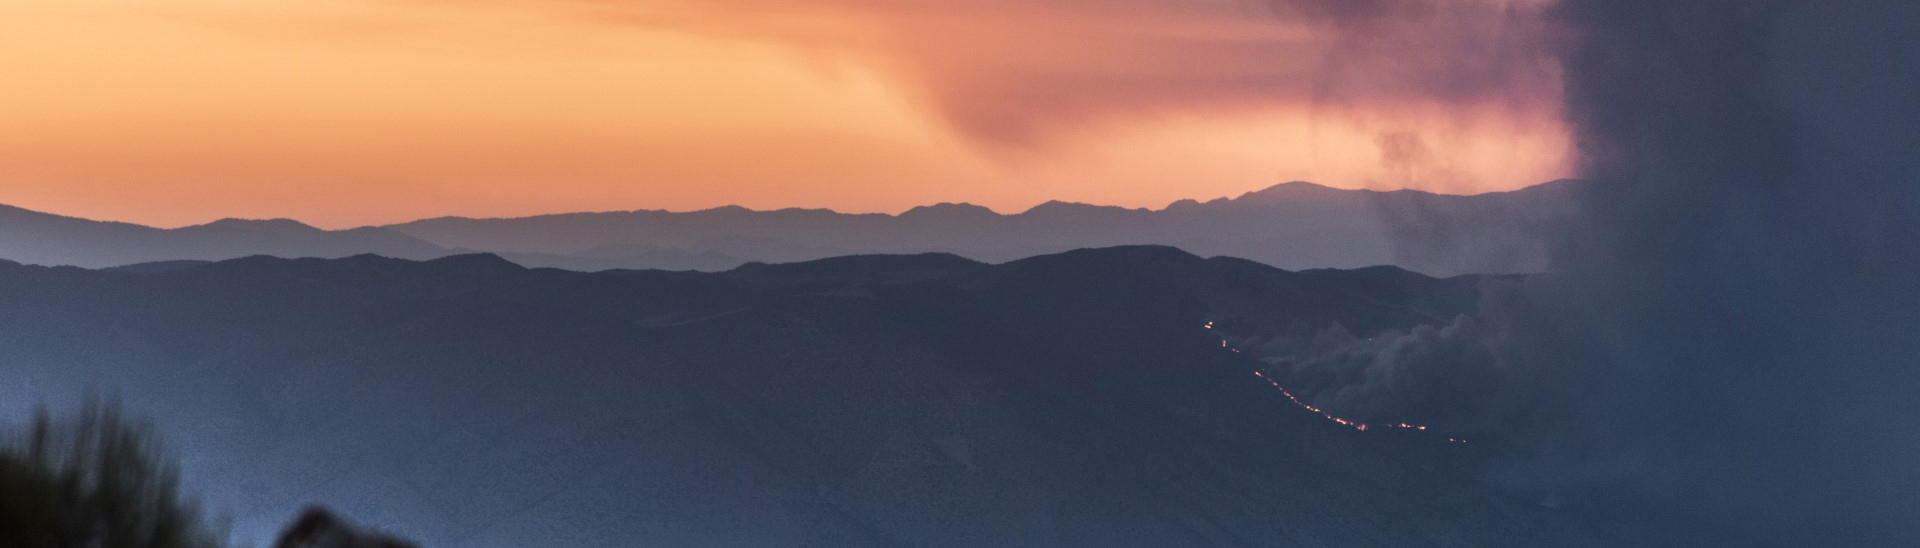
Vary your lighting and time-of-day: for landscape photos, the light angle and amount can really make a difference in which geographical features show up or are highlighted. If your objective is a treeline landscape, midday sun with minimal shadows is not necessarily bad; however if you are trying to fit an entire mountain into a photo, the relief will show up a lot better with a lower sun angle behind the photographer.
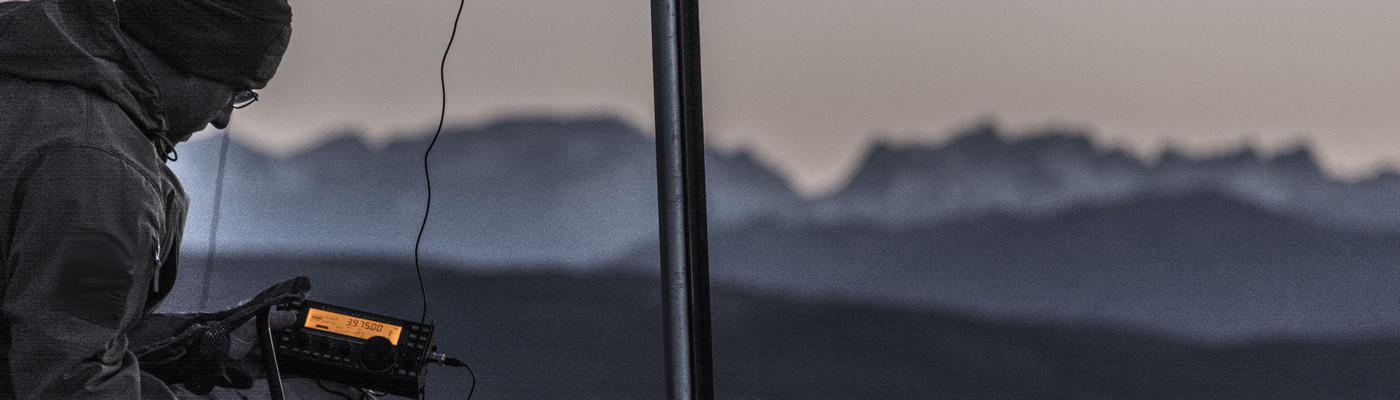
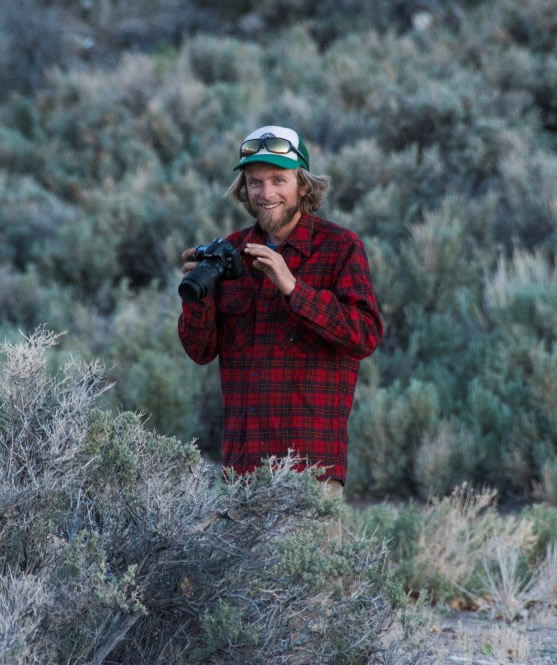
Get people in the photo: people make for great scale reference, but they also provide a human element that helps your audience identify with the image. Sometimes closer is better, but not always. Try different compositions.
Action shots: these are the most difficult to get, since, after all, you are focused on fieldwork. The payoff, however, can be quite large. Real action shots (not staged with those stiff poses and smiles) can make for timeless, dynamic photos that you will want to use over and over again in reports, presentations, and exhibitions.
View angle: sometimes the most effective angle is not from a standing position safely removed from the subject. Instead, try composing your shot using foreground objects or getting closer or farther away from the terrain. Backing off from the subject but then using the optical zoom (forget digital zoom) to foreshorten the image is also a good way to enhance your composition. Remember to hold the camera extra-still when zoomed in or shooting in low light.
Edit in the field: it is easy to take hundreds of digital photographs in a day. Keeping track of them and culling the “bad” from the “good” can become daunting in the long run. I highly suggest that while you take several frames of each objective, try to immediately review and delete the ones that clearly did not come out. The more you can reduce the final photo count using on-board camera review, the faster the uploading and review process will go later.
Hopefully these few tips will get you started in improving your science and communication using photography. In the next installment, we will cover some suggestions for basic cameras and software that with just a little training will absolutely transform your capabilities and products. Don’t forget to subscribe to the blog so that you won’t miss it! If you found this post useful, please Tweet it as well.